We hear it time and time again: "I love your patterns, I can crochet but I can't follow a crochet pattern." We get it, it looks like a foreign language to begin with and there are three problems that crocheters have that knitters don't.
Firstly crochet, even when written in the English language has two languages - US standard terms and UK standard terms and many patterns don't tell you up front which they are written in. We not only tell you in our patterns, we give you the conversion information too.
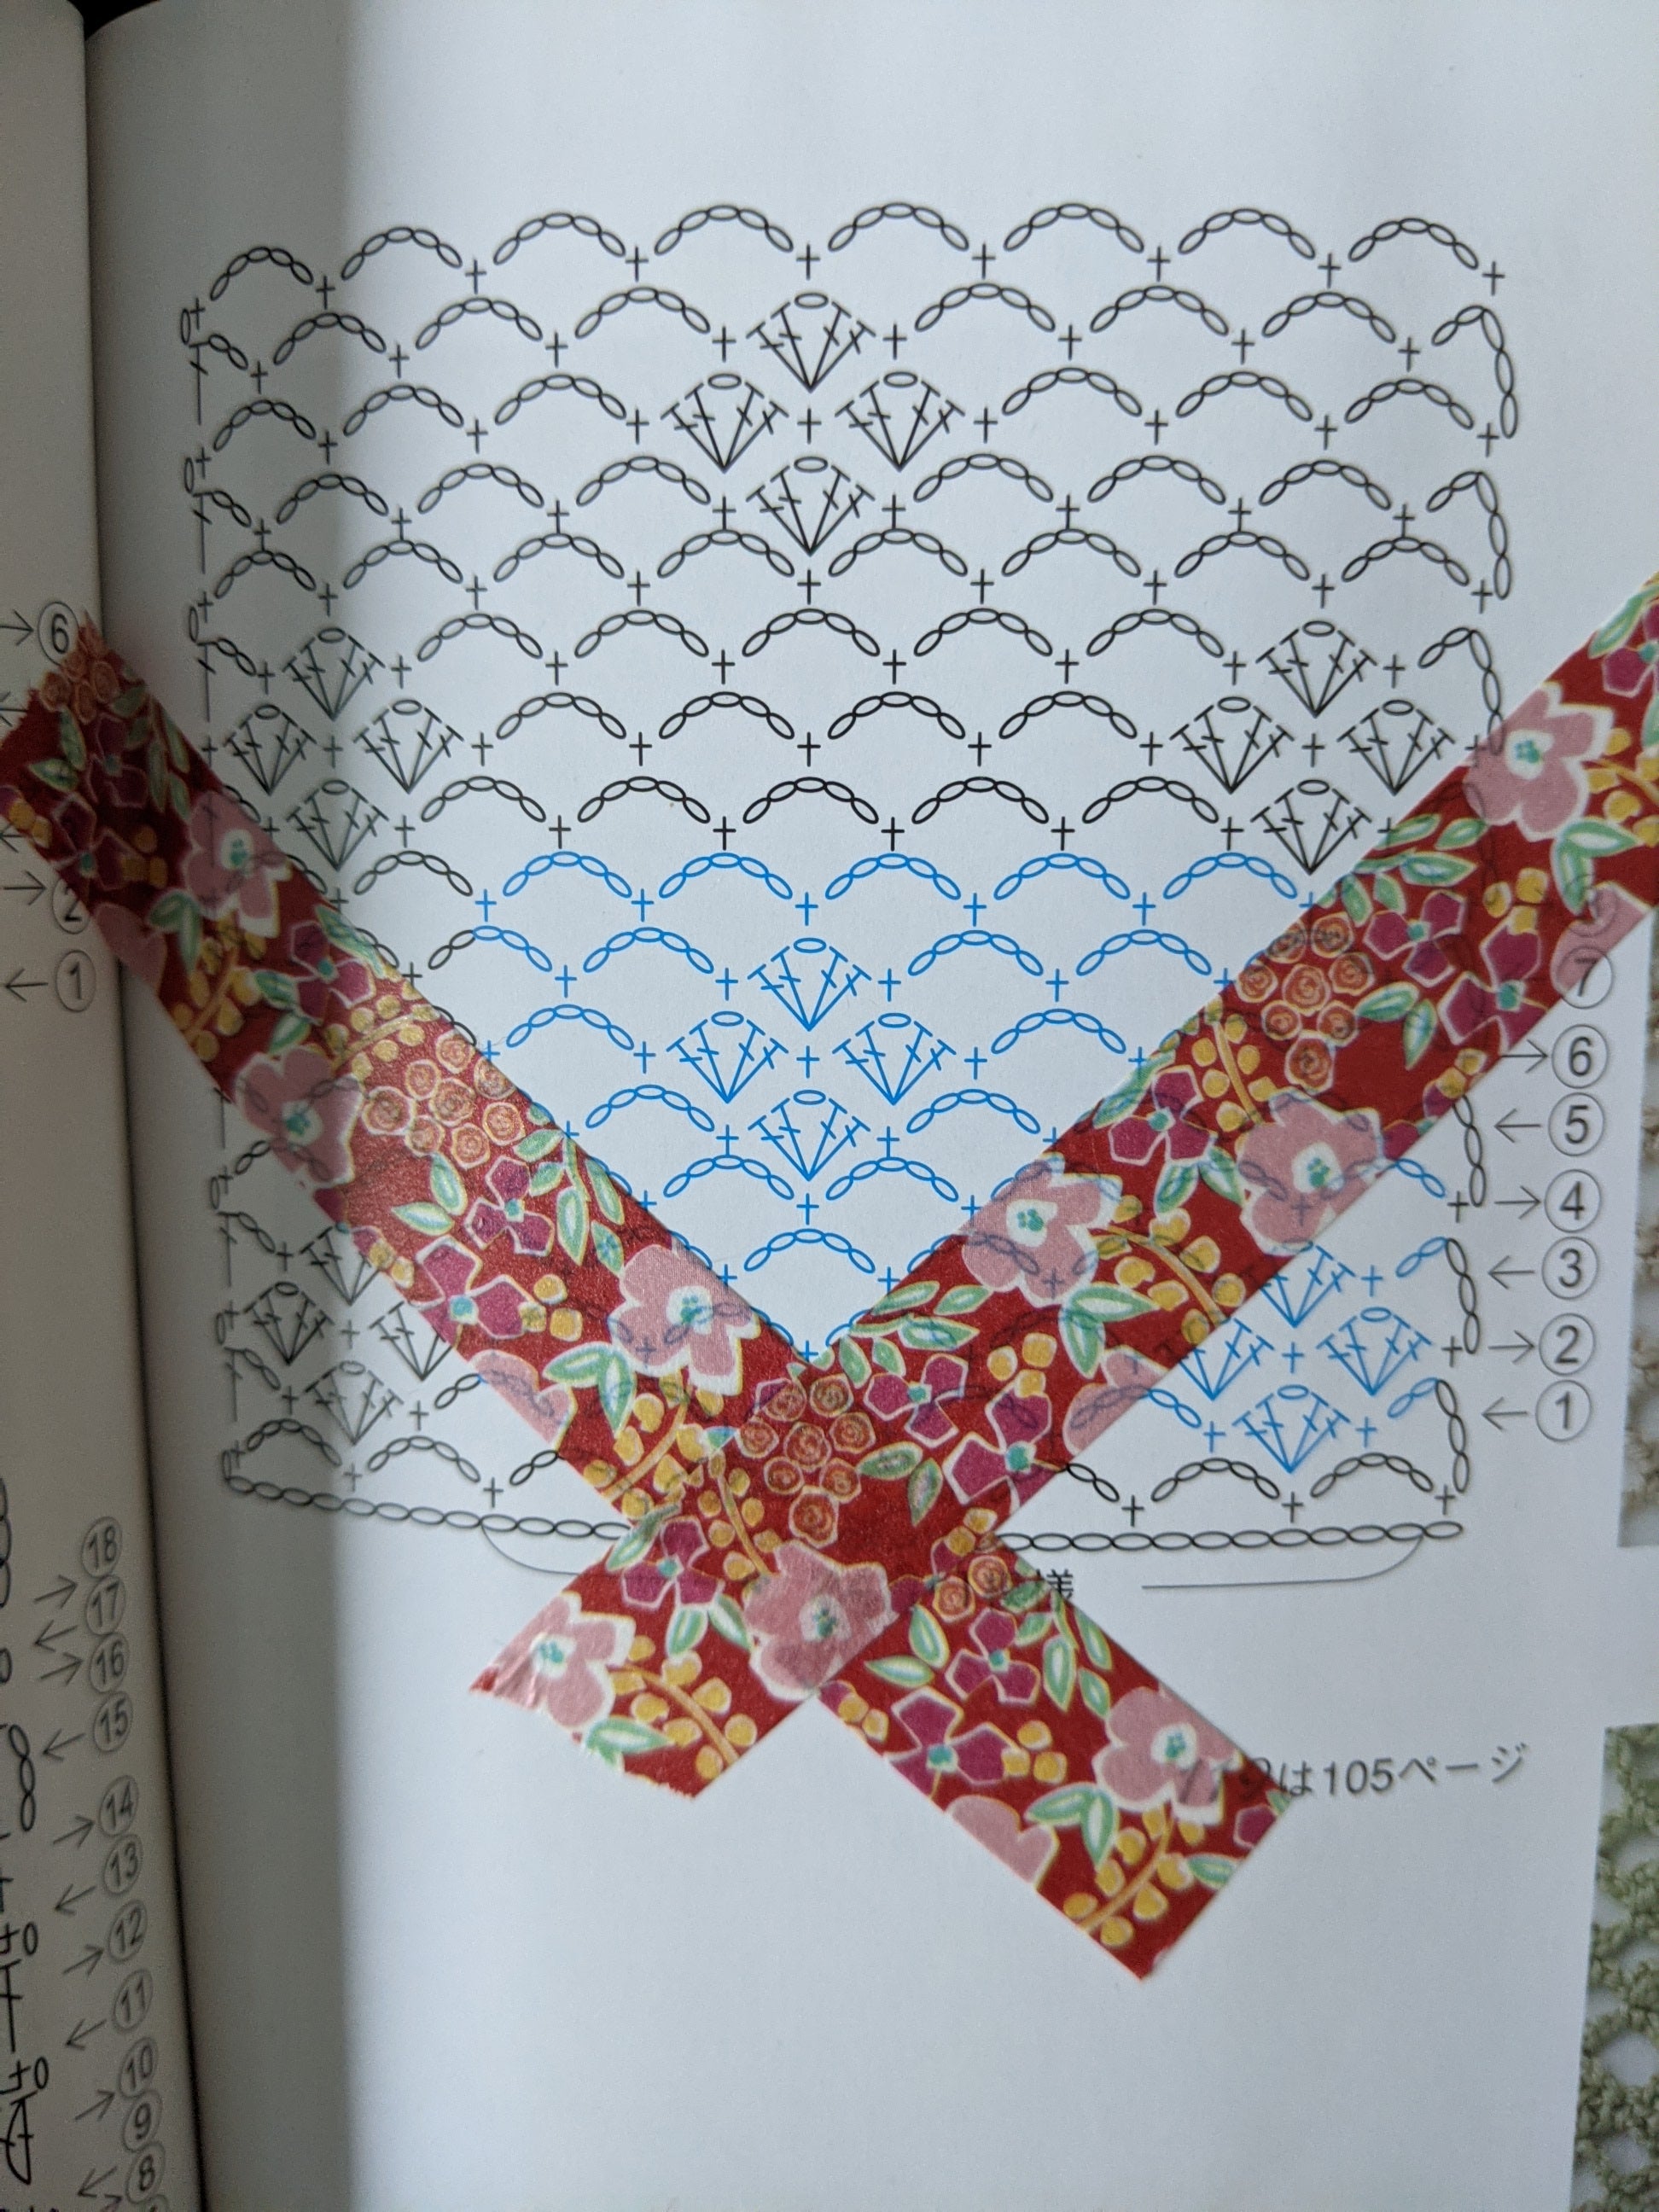
Secondly, in knitting you must process each stitch as it comes along. In crochet there is no need to and there are many more options for where to place you hook that are commonly used. This makes it a little more complicated to convey the instructions because they must tell you what to do and where to do it. This can lead sometimes to very complex looking instructions for quite a simple pattern. We get around this problem by using tried and tested conventions and by charting all but the simplest stitch patterns.
Thirdly, and this is somewhat related to the second point. There are a lot of different ways of writing things and people use different methods to convey it, some more successfully than others. Knitting has a much more standard way of writing things which means once you've learnt how to read a pattern you can master most things. Crochet sadly doesn't. This means that if you can read one crochet pattern you can't necessarily make sense of them all. We use one trusted convention and stick to it so that you know if you follow the five rules we set out you can read any of our patterns. Sadly we can't make everyone else follow suit but we chose convention that is used by most UK and many US magazines and is widely regarded as best practice in pattern writing.
Almost all crochet patterns use abbreviations and in that we are no different. All of our patterns list out the abbreviations we have used and we use the standard UK abbreviations with a conversion guide for our US readers.
So without further ado here are the rules
Rule One:
Unless you are told otherwise you can assume you move to the next stitch. So “3 dc” is short
hand for 1 dc into each of the next 3 stitches. If we want you to work 3 dc all into the same place we would write “3 dc in next st”
Rule Two:
We use round brackets ( ) to group stitches so “(1 tr, ch 2, 1 tr) in next stitch” means the
whole of the instructions inside the bracket are to be worked into the next stitch, without the brackets you couldn’t be sure which of the stitches were to be worked where. We also use them for groups of stitches to be missed to avoid repeating the term miss over
and over again. Eg “miss (3 dc, 1 ch-sp, 3 dc)”
Note: We also use round brackets to give different stitch numbers for the different sizes and in that case it will looks something like this 2 (2, 3, 3, 4). You select the size before you start, using the size guide and circle the right instruction for the size you are making to help you keep on track.
Rule Three:
We use square brackets [] to include instructions that you will work a set number of times. So “[3 dc, miss 2 st] 3 times” is the same as writing “3 dc, miss 2 sts, 3 dc, miss 2 sts, 3 dc, miss 2 sts”
Rule Four:
We use “*...;” for instructions that continue until you get to the point you are told to stop. So *3 dc, miss 2 sts; rep from * to end” means that you will work it over and over again to the last stitch.
Rule Five:
If there is a number after the full stop at the end of the instructions it is a stitch count. These allow you to check you are on track.
If you'd like this information in a handy printable pdf then please head here


Leave a comment
All comments are moderated before being published.
This site is protected by hCaptcha and the hCaptcha Privacy Policy and Terms of Service apply.